…is necessary when you intend to show them on social media. Posting your work on social media not only shows them to people, it’s also a great way to keep a record of your work. To archive it.
Facebook is particularly good for archiving work because you can create folders of paintings, put collections together in the folders and name them, and everything is dated. It’s then easy to search for a particular folder when you’re looking for something, and if you happen to be out and about and want to find a particular work, you don’t need your computer or hard drive, ,or to have alot of space filled with photos on your phone, but simply access to the internet on your own or someone else’s phone, go to photos on your site and find the folder which is listed under photos on your page.
It’s not hard to get a good enough photograph of your artwork for the purpose of posting on social media. You don’t need or want a large file format (like one that’s good enough to make a quality print) for social media because the sites down size them anyway. So unless you’re posting on a print-on-demand site like RedBubble, or sending an image that requires a 2+MB file for whatever reason, any ‘ol smartphone will take a great photo for this purpose with a few little tricks and tweaks.
The first and most important thing to do is turn off the flash. the flash will obliterate detail, and with the light bouncing off of the surface, completely change what the painting looks like.
Light is very important and the only light that works apart from very expensive studio lighting is daylight. Filtered daylight. So in the light of day but away from direct sunlight, that can be inside with the room lit up by windows allowing as much daylight in as possible, or on the shady side of the house outside, or under a verandah, etc. Cloudy days are my favourite.

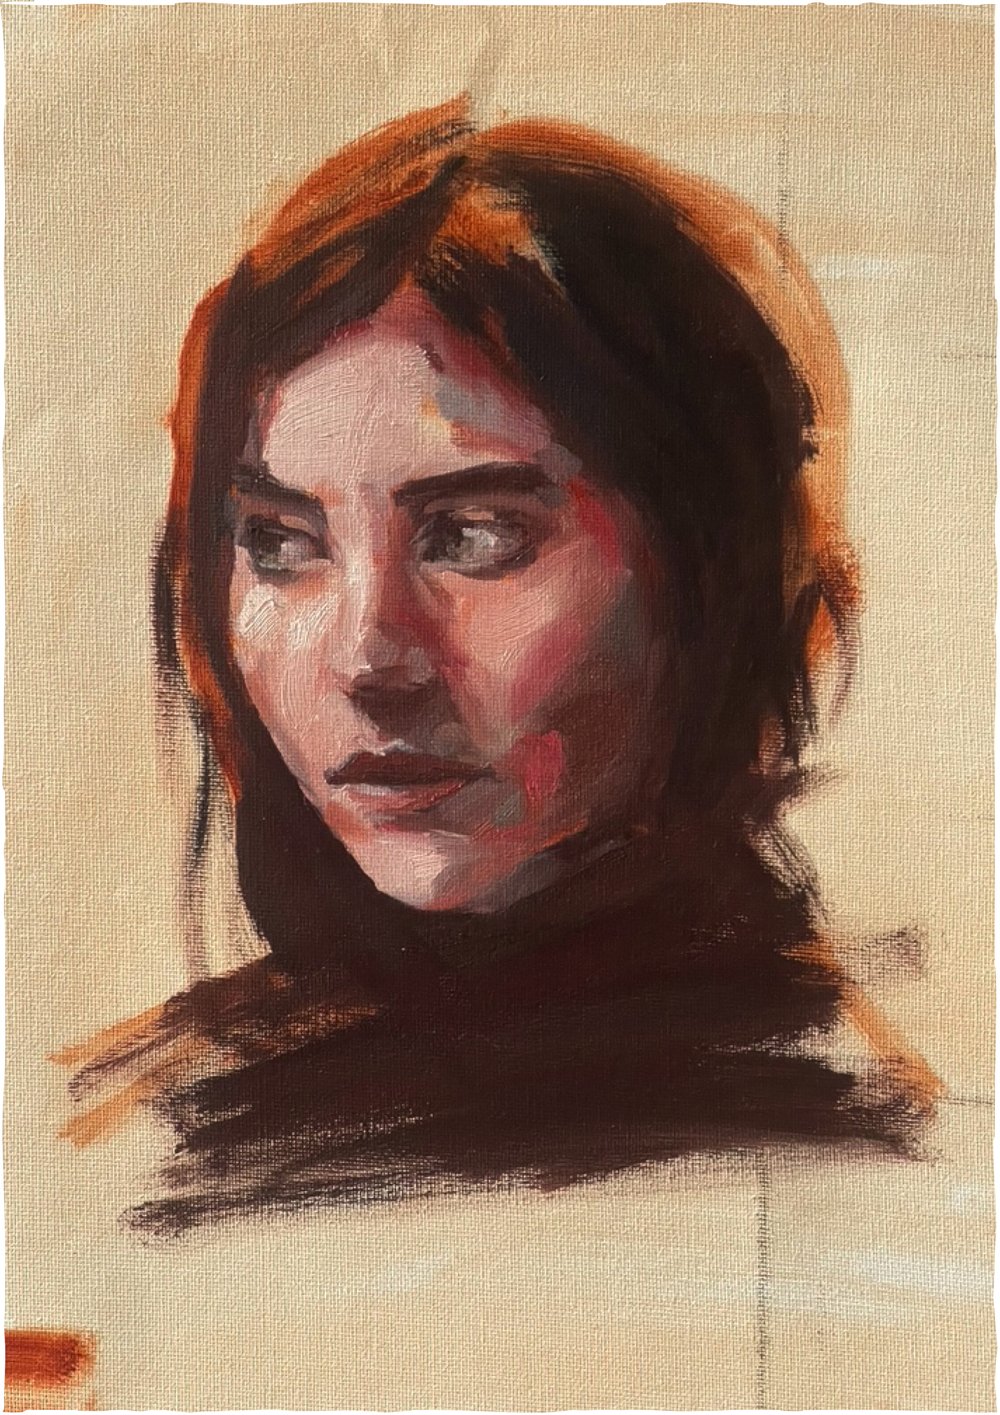
I did a study last night to test a pallet I might use for my live painting at the Royal Adelaide show next week, so I thought I would compare the artificial light from a photo I took last night to the natural daylight from this morning.

above is the difference between daylight and regular artificial light that we use to light our homes - no filters or adjusting was used in these photos taken with my phone.
There’s a spot in our home that has light coming in from all directions including above, and that’s where I keep my “tidy easel” for photographing my work. If the sun is streaming in from one direction, nice and brightly, I turn my easel away from it to take the photo. If it’s a dim and dark cloudy morning or evening I turn my easel towards it. I’m avoiding shine which obscures detail and avoiding a kind of light that picks up too much detail on the surface like a speck of dust - the focus needs to go beyond the dust on the surface so a tiny tweak of a turn away from the light achieves this.

Set your phone/camera to its highest resolution. “Super Fine” or HD, high definition, or large, however it reads choose the largest setting (one that takes up the most memory space for a quality photograph. (Not live though).
Get as close to the painting as you can and square it up - so all sides of the painting sit as equally in the frame as possible. If the bottom edge of the painting is narrower than the top it’s not square.

an example of a squarely lined up and a not squarely lined up painting.

cropping
Once you have a good photograph it’s easy to crop on your phone with the editing setting, or you can crop as you upload to social media with whatever platform you’re using’s photo editing options. They all have them.
then of course you can style a scene, or take photos of your work to show them hanging - here you can be a bit more creative.


using the candy mock up app which allows me to upload photos of my art into a styled scene